Today I am going to tweak the main bearing hub of my Rega turntable. Look, I have a bronze bearing hub here for testing!

And why bronze? 

Bronze is one of the best materials for bearing due to its toughness, strength and low coefficient of friction. Low coefficient of friction would mean easier start-up, smoother running and less vibration/noise generated from the bearing hub. Besides, there's another very important feature we shall not forget, i.e. good lubricity which enables it to run with very little lubrication. Hence, it can still continue running without re-lubrication over a long period of time. So even if there's negligence on our part, damages to the sub-platter steel shaft would be minimum. 

Of course, it's always important to let our bearing run with adequate lubrication for optimal performance.

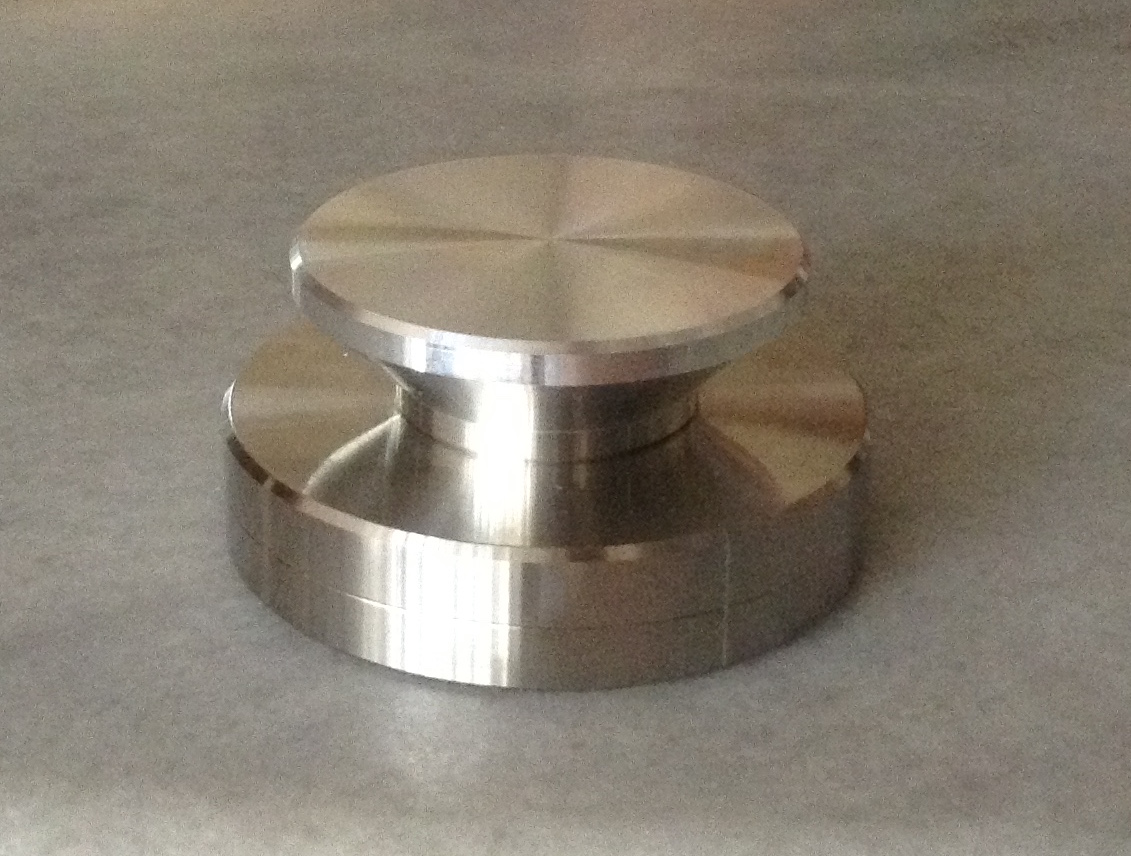
Bronze Bearing Hub
Model : BH18 (USD48.80)
I have tried out this new Bronze bearing sleeve or hub, compatible to stock 18mm (~3/4")  brass bearing hub on my TT and  I am very satisfied with the result I get. 

This bearing hub is suitable for DIY turntable projects using Rega sub-platters or compatible aluminium sub-platters! It is also compatible with Planar 2, Planar 3, P2, P3, P3-24, P3-2000, P5, P25, RP3, RP6 and some NAD and Goldring turntables.


New bronze bearing hub compatible with DIY, P1, RP1 and some NAD and Goldring turntables is available now :

Bronze Bearing Hub suitable for DIY, P1/RP1
Model: BH12P1 (USD47.50)


Try it out yourself! Hearing is believing! 

Let's enjoy more analog music!


Read Users' Comments ( 1 )

Upgrade or abandon - lrpLakeSide

"To Upgrade or abandon? " This is a common question frequently asked by old TT owners!

If you happen to be one of them, why not just spend some time reading the following post in vinylengine:

Upgrade or abandon
Post by :lrpLakeSide » 28 Dec 2015 22:40 
Vinylengine

Upgrade or abandon 

I was finally able to complete the P1 upgrades. $200 on a new machined aluminum subplatter, brace, thrust bearing, and a bearing sheath. 


thrust bearing, hub nut

The brace required the removal of the tonearm and bearing well, so while those were off I fitted the thrust bearing, I couldn't bear leaving the motor cover off or using spacers, so a hole was made to allow the thrust bearing through. Once flipped back over I fitted the brace, gluing it down, while aligning the bearing well and tonearm. Once in place two small screws were added to hold the brace in place. Now that the bearing well was back in the plinth I attached the bearing sheath. It certainly added some strength to the bearing well. 


Subplatter, brace
With the brace, thrust bearing, and bearing sheath in place I refitted the tonearm (which also received a new lift mechanism since the last one crapped out after about a year) and it was time to drop in the new subplatter. I dropped the newly supplied ball bearing in, lubed it up and waited for the subplatter to seat itself. I added a Rega white belt and was off and spinning. 

Everything was sounding much more stable, consistent, and accurate. Because all four were added at once I can't say what each did to the overall presentation, but here's what did happen..... If you remember this was my secondary system, which was admittedly built to be low-fi and mainly play back cd's, I pulled the P1 out so I had a back up table, but still preferred to listen to cd's on that system until now! :o Needless to say the cd sound quality hails in comparison to the modded P1 now and that was certainly not the case prior to the modifications. I have done several cd vs vinyl comparisons after the mod on this system and the P1 puts the cd player to shame now (as vinyl always should). $200 well spent and enjoy my P1 more then ever!  

Thanks again for helping, 
Luke


Read also on >>> Luke's P5 upgrade 


Read Users' Comments ( 0 )

Eric Lew's P3-24 TT upgrades

Eric Lew of Singapore upgraded his P3-24 TT in two stages. If you are skeptical about tweaking your Rega turntable, you can always take a small step first. Tweaking turntables is not just a crazy hobby, you want to HEAR the difference....

Let's HEAR what Eric has to say ...


Hi Michael,

As promised a review with pictures attached. Upgrades installed this time as below :

1) Acrylic platter
2) Underslung counterweight
3) Stainless steel double pulley / silicone belts

Previously
4) Aluminium feet
5) Aluminium subplatter

Modifications were easily installed with simple and clear instructions from you, i progressively change out the components over a few days to assess the improvements


Overall sound improved tremendously. Background noise floor was reduced significantly, Soundstage and depth layering much better, Transparency and dynamics increased. 

Music is much more live and natural. Rediscovering my collection once again and it sounds like a new turnatble. 

Many thanks again to you Michael

Regards
Eric Lew


Thanks Eric!


Read Users' Comments ( 1 )

Related Posts Plugin for WordPress, Blogger...