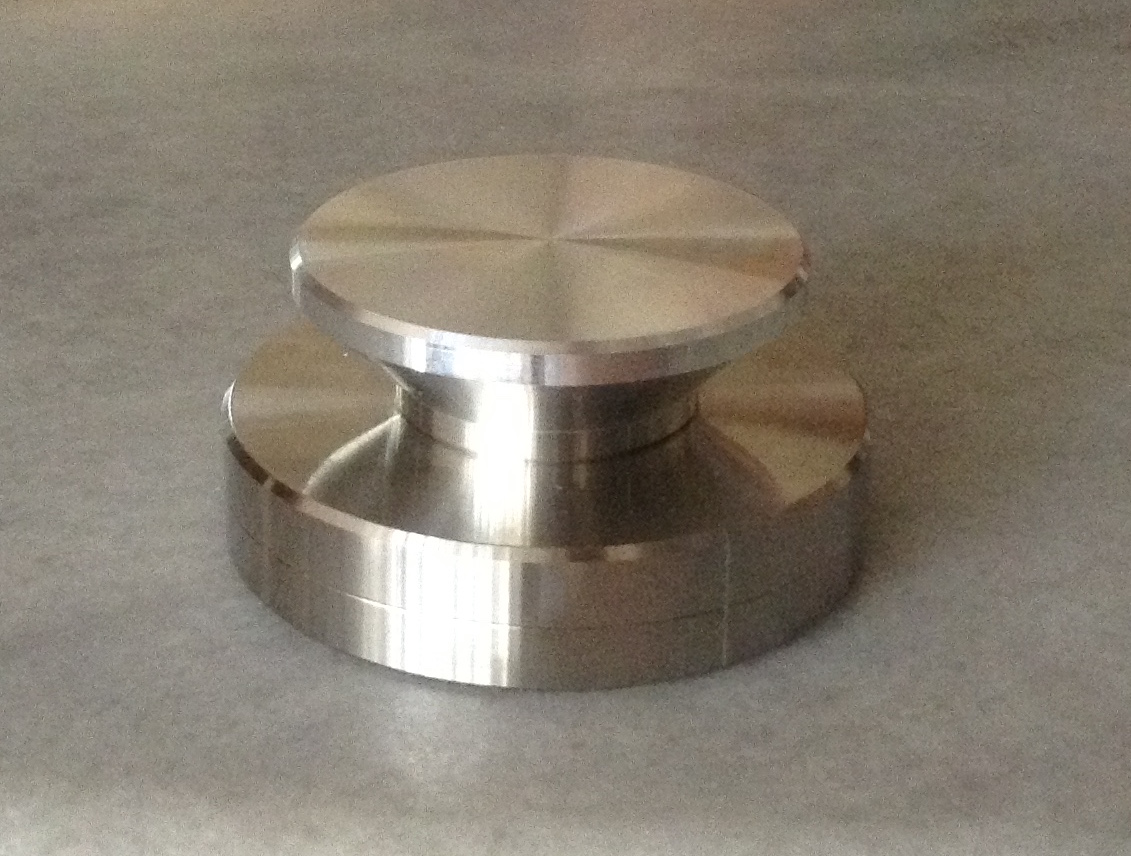
Sharing with you here Ralf's braced acrylic plinth (with red top) and adjustable aluminium feet upgrades: 


Let's see Ralf's first reaction when hearing his transformed deck play.....


Hi Michael, 

Just let you know that the installation of the plinth last sunday was successful. 


I was floored when we first heard it play! The improvement was leaps and bounds compared to the last time i heard it. It has more punch, sound is tighter, it has more bass but its not overpowering and somehow balances the brightness of the highs of my Focal speakers! 


It was well worth all the expenses for the upgrade. I cant wait to do the last upgrade of the pulley, belt and platter., and hope that it will still make it sound better! Here's a couple of snapshot i made of the TT. 

Thank you so much for your help! 

Best regards, 
Ralf


Thanks, Ralf !


Read Users' Comments ( 0 )


Do you visit vinylengine forum recently? Then you wouldn't have missed Jeffco's thread: Balsa and ply plinth?  . Fantastic effort as you can see from the pictures he sent me. 

Glad also to receive his positive feedback on my dual pulley and silicone belts which stand to be part of his esteemed project :


Michael, 

Of course I read about other peoples experience with the steel dual pulley and red silicone belts, but I was still shocked at the great results on my Planar 3. The music has better dynamics and impact, a more engaging experience. The motor looks steadier – I think the old pulley wobbled slightly. 


The extra grip of the two belts is very apparent when I fit my plinth to the new isolation base. I have had the Planar 3 since the early 1980s and started upgrading last year mostly using low cost, DIY upgrades. The first was a seismic isolation base using a bike inner tube, three ball bearings and six concave door knobs. It uses the Townshend Seismic Sink principles. Great sound. 


Then I tried different plinth designs and materials. This is my fourth attempt, and by far the best sounding: based on the principles of the beautiful Rega 8, it has a stiff but very light balsa structure – it weighs less than 16 oz. Details on the Vinyl Engine. 

Jeff Cosford.


Thanks, Jeff !


Read Users' Comments ( 0 )

Clif liu's Counterweight upgrade ...


Clif's first upgrade on his RP3 TT was underslung counterweight. Though many would choose to upgrade the stock plastic pulley or subplatjer first, I would say counterweight was the right choice too. Hearing is believing, you would be amazed to see the sonic improvement!


Clif's report after the underslung counterweight upgrade:


Hi Michael, 

I have been listening to the counterweight for a few weeks and have the following report. 

I have a Rega RP3, which has a RB303 tonearm. I don't know if the counterweight sleeve would have fit on the Rega endstub, but I decided to use the new end stub for the precise VTF adjustment. To remove the end stub I first removed the arm from the table to protect the bearing. I then wrapped both the end stub and the armtube with many layers of masking tape and twisted off the end stub by hand. I didn't use WD-40, figuring that the connection would not have corroded in the 2 years I've owned the turntable. The old end stub came out with some effort and the thread was not smooth. I was able to screw in the new end stub with some effort taking care not to cross thread the stub. 

I have an old Dynavector DV10x4 Mk 2 cartridge, which weighs 4.6 grams according to the manufacturer. I was able to use the weight without the addtional 9.5 gram screw. Getting the weight in the right place was a chore. I wanted to be fine adjust the tracking force from 1.7 to 1.95 grams, which is the higher range of the 10x4's 1.5 to 1.9 gram range. After a few tries I managed to lock in the weight so it was at the right position and angle. 

Of course now I had to fine tune the VTF and VTA. The 4.5g screw made this very easy. A turn is about the resolution at which I could hear a difference. I raised the VTF until the bass sounded bloated and the highs lost detail. Then I backed it off a half turn. I dropped the VTA from 3.5 mm to 3 mm (I'm using spacers) and the sound became dull, so I stayed with a VTA of 3.5 mm. At these settings the sound from the cartridge becomes quite magical. 

Quick note on my system. I am running an Antique Sound Labs tube phono preamp into a Bottlehead 2A3 power amp and Unity RS Desktop speakers. It's a flea-powered fast system with little bass. I listen to classical mainly. 

With these settings I'm noticing that the overal resolution of the system has increased significantly. By comparison, the old setup was muddled. All instruments now were distinct and separate whereas before they were somehow stuck together. The bass became much better too. The timpanis packed a wallop, but I could now feel their texture too. Imaging improved as well. The instruments were spread between the speakers, and each instrument had its own location instead of being vaguely in a certain area. 

I think the biggest improvement came in when the music became complex and loud. Here somehow the RP3 manages to stay relaxed and is able to pick the pieces apart. 

This is my first upgrade (except for the VTA spacers). I'm not entirely happy with my setup yet, but the counterweight was a huge improvement. 

Clif 


Thanks ,Clif !


Read Users' Comments ( 0 )

Related Posts Plugin for WordPress, Blogger...