


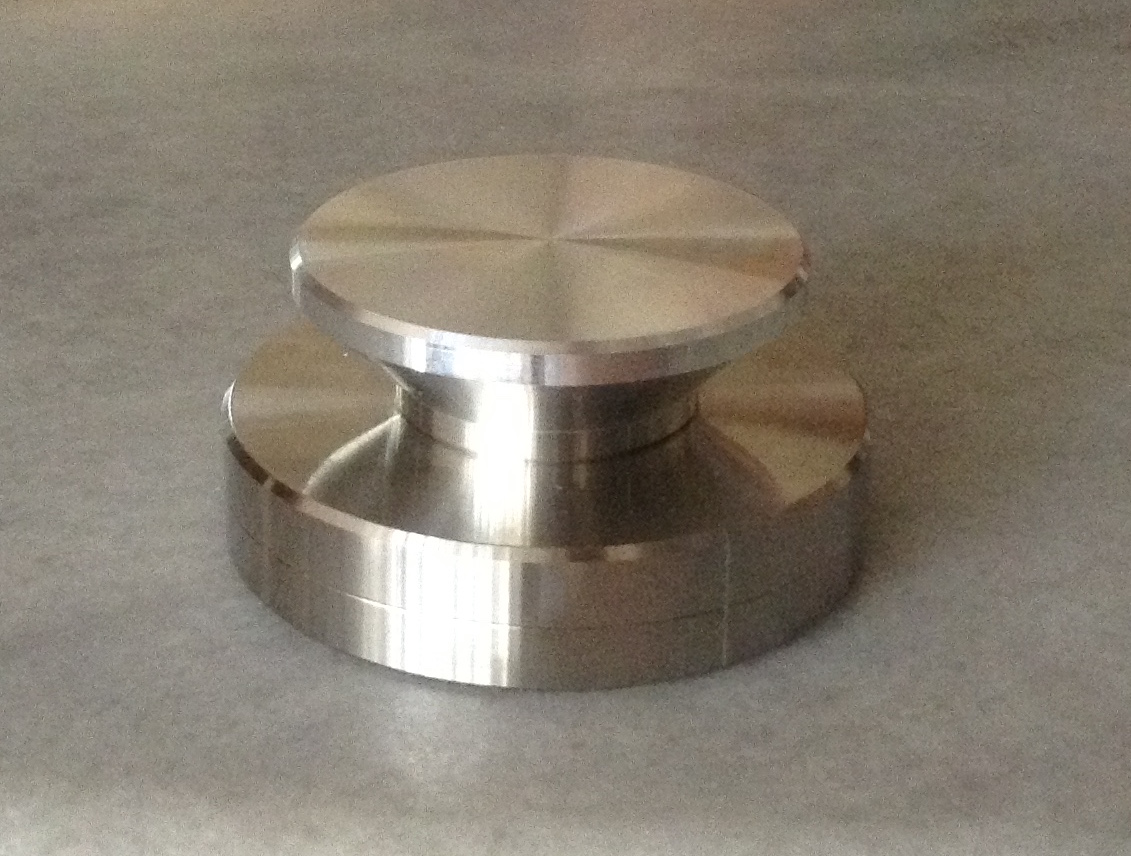


The bottom bracing was designed to increase the rigidity of my tired old Planar initially (both my own Planar 2 and Planar 3). But during designing stage, I had made allowance such that it could be used for other models like P1, RP1, P2, P3, P3-24, P5 and P25 as well.
Turntable owners (P1, RP1, P2, P3, P3-24, P25 and P5) didn't have any problem fixing the bottom bracings so far and they were happy with the sonic improvement brought about. In fact, it's easy to do the job as compared to top bracing in that the tonearm was not involved. However, there were two turntables owners (a Planar 2 and a Planar 3) encountered problem in aligning the main bearing and the three screw mounting holes for the feet. This was quite unexpected as the mounting holes were assumed to be the same for all Planars. My apologies to the two friends who had to put in extra effort in getting the job done.
With the feedbacks I was able to make bigger allowance for future orders so that you won't face the same problem.
Walter of California of USA, (the Planar 2 owner) had sent me pictures on how he filed a bit of the main bearing hole on the bracing in order to get the bracing fitted to his Planar.
I must thank Walter for his invaluable feedback which is very helpful to all of us.
Sharing with you here Walter's pictures and feedback :
Hi Michael,
I purchased the following upgrades from you: 1. Dual pulley + silicone belts 2. Motor isolation base + thrust bearing 3. Top and bottom braces together + aluminium feet 4. Rubber cork mat for acrylic platter + VTA spacer I already have a metal sub-platter with sapphire bearing , acrylic platter, metal end-stub and counter-weight from another supplier. They were installed a long time ago. I just found your website recently. Upgrade Part 1 As you know, so far I have installed the Top and Bottom Braces, the aluminum feet and the cork mat with the VTA spacer. I had some problems with the Bottom Brace. The holes for the feet would not line up. They were off by approximately 1/4 inch. It seems that Rega drilled them a little off from the normal template. I sent you an email about how to rectify this but did not wait for a reply as the hardware stores were closing early due to the July 4th holiday. I decided that I should file away some metal around the bearing housing and had to run quickly to the hardware store to purchase a file I got everything I mentioned installed. I can send you a photo of the filing job if it would help someone else in my situation if you want.    I did listen to the turntable right after the installation but everything was cold and I did not think it was the best way to audition the upgrades. Last night, I decided to some serious listening to the Rega Planar 2 after I installed some of your upgrades. I find everything is clearer with tighter, more controlled bass. The instruments are more focused. The voices are clearer and more natural sounding and the music seems louder than before at the same volume level. If this is what happens with this part of the upgrades, I cannot wait to install the dual pulley and motor isolation base. Thanks for these upgrades. They are definitely worth the cost. Regards, Walter |
Thanks, Walter!

0 comments:
Post a Comment